TRUGLO does not recommend using shot larger than US #4 (3.30mm) through our choke models
Category: Firearm Products
Shotgun Choke Tube Compatibility
If you shotgun does not appear on our choke capability chart then we either do not offer a choke for the platform or we require information on which choke system your shotgun utilizes. Please contact the manufacturer of your shotgun for their choke tube system compatibility confirmation and come back to us with this information. Once we have this information, we can make the best recommendation.
| GA. | HEAD•BANGER™ | STRUT•STOPPER XTREME™ (SSX) | GOBBLE•STOPPER XTREME™ (GSX) | COMPATIBLE SHOTGUN MODELS |
| 12 | TG180X (.665 in.) | TG150XC(.643 in.) | TG170XC (.665 in.) | Remington® Remchoke 870/1100/11-87/887; Charles Daly® pumps, and semi-automatics; Mossberg® Pro-Factor™ PF3 |
| 12 | – | TG150AXC(.643 in.) | – | Remington® Pro Bore |
| 12 | TG181X (.680 in.) | TG151XC(.670 in.) | TG171XC (.695 in.) | Mossberg® 3.5 AccuChoke 835 Ulti-Mag/935 Magnum |
| 12 | TG182X (.665 in.) | TG152XC(.643 in.) | TG172XC (.665 in.) | Winchester ® WinChoke 1200/1300/1400; Browning® Invector; Charles Daly® Over-Under models; H&R® (excluding Excell automatic); Ithaca®; Maverick Arms® 88, Mossberg® Pro-Factor™ PF1 1500/535/9200/930; New England Firearms®; SKB®; Stoeger® Coach/Condor/Uplander; Weatherby® |
| 12 | TG183X (.665 in.) | TG153XC(.643 in.) | TG173XC (.665 in.) | Benelli® Crio |
| 12 | TG184X (.665 in.) | TG154XC(.643 in.) | TG174XC (.665 in.) | Beretta® OptimaChoke Plus |
| 12 | – | TG154AXC(.643 in.) | TG174AXC (.665 in.) | Beretta® OptimaChoke HP |
| 12 | TG185X (.665 in.) | – | TG175XC (.665 in.) | Benelli®/Beretta® Mobil choke; Franchi®; Stoeger®; Pumps, and semi-automatics; Mossberg® Pro-Factor™ PF2 Silver Reserve |
| 12 | TG186X (.665 in.) | TG156XC(.643 in.) | TG176XC (.565 in.) | Browning® Invector Plus; Winchester® Super X2/X3/Supreme; Sake®/Tikka® |
| 20 | TG187X (.565 in.) | TG157XC(.550 in.) | TG177XC (.565 in.) | Remington® RemChoke and most Charles Daly®/Mossberg® Pro-Factor™ PF3 |
| 20 | TG188X (.565 in.) | – | TG178XC (.565 in.) | Winchester® WinChoke; Maverick Arms® 88;/Mossberg® AccuChoke 500/505/510 Mini/Pro-Factor™ PF1 |
Measuring Rib Width to Determine Correct Model Sight
In order to best choose a sight to fit your shotguns rib accurately measure (1/100ths inches) the width of this shotgun’s rib where you’d intend to install the front and rear sight(s).
Once you have this measurement, review the available options and determine which sight will best fit your shotgunIf the rib on your shotgun is too narrow/wide for our Pro Series magnum Gobble Dot sight we’d recommend you look at the TG950XD, or TG950X Universal to install on this shotgun. These sights do require the front sight bead to be removed and replaced with the front sight from these kits.
If you have any questions regarding fitment feel free to call toll free 877-269-8490 for assistance.
GOBBLE•DOT™ UNIVERSAL Install Tip
The Gobble Dot Universal is a simple, but quite durable front/rear turkey sight combination. We use a 3M adhesive to attach this sight to the top of your shotgun’s rib.
Please be sure to fully degrease and clean the area where you intend to mount these fiber-optic sights with an alcohol wipe or degreasing agent, prior to installation.
Pro Series MAGNUM GOBBLE•DOT™ Install Tip
The PRO SERIES MAGNUM GOBBLE DOT (TG944 series) was designed with a generous amount of elevation adjustment. It is important to mount the two sights as far away from each other as possible to maximize elevation adjustment.
The rear sight needs to be brought as far back on the rib as you can, without coming past the barrel onto the receiver and it is also important for the bottom of the sight that it does not contact the top of the barrel. You will also need to shoot with a full face contact to the shotgun’s buttstock comb to ensure you are getting your line of sight low enough.
Replacing Fiber for TRU•BEAD™ Universal Sight
First, be sure the firearm is unloaded before attempting any service. To remove the TG949A/B fiber-optic insert, you need to press down a bit on the middle of the fiber insert, this in turn will depress a small rubber disc under the fiber. This rubber disc applies upward pressure on the fiber-optic, bowing it slightly, and this tension keeps the fiber locked into the retention apertures.
Then, as you press down slightly on the fiber-optic, you will simultaneously push the fiber to the rear of the firearm to remove. To reinsert, reverse the process with the larger flared end facing towards the rear of the firearm.
Information on Co-Witnessing your Dot Optic
Below is the specifications sheet from our current catalog with Co-Witness Height information.
http://www.truglo.com/images/red_dot_specifications.pdf
Depending on the specific sight picture you wish to achieve, this will determine the riser height required. Additionally, the specific sight you are installing will impact this choice as center lens location is different on many models. Many factors come into play to make this decision. The style of the buttstock and the height of its comb, the shooter’s face/head position on this stock and the achieved height of your line of sight. We recommend taking your firearm to a local gun shop with a variety of riser heights available and see which heights provides the best, most comfortable and effective sight picture you require.
Torque Spec for Picatinny Riser
All of our Picatinny Riser risers should be set at a max torque spec. on screws of 25 inch pounds.
Sight compatibility for Taurus® G2, G2C, and G3
TRUGLO TFX PRO (TG13TA2PC), TFX (TG13TA2A), and TRITIUM PRO (TG231T2W) are designed around the Taurus 709 Slim, 740 Slim, and Millennium G2 models. The G2C and G3 use the same sight cut as the G2.
As a part of QC procedure, Taurus occasionally changes the rear sight on some of the G2, G2C, and G3 models to match the point of impact of a particular gun. The rear sight height we sell is designed around the most common Taurus rear sight. The majority of the time, this will fit properly and and the point of impact will be correct. If your individual gun was one that received a different rear sight from the Taurus factory, your point of impact may be slightly high or slightly low. In that case, please contact our customer service department at 972-774-0300. We have “non-standard” height Taurus rear sights on hand that can be exchanged for your current rear sight to achieve a better point of impact.
As we discovered this, the 2020 catalog lists the G2C as an excluded model. This is not the case. The majority of G2C and G3 sights will fit fine, and POI will be correct. Only rare occasions require a different rear sight.
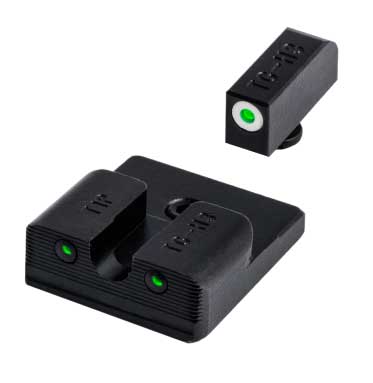
TRITIUM PRO (TG231T2W)
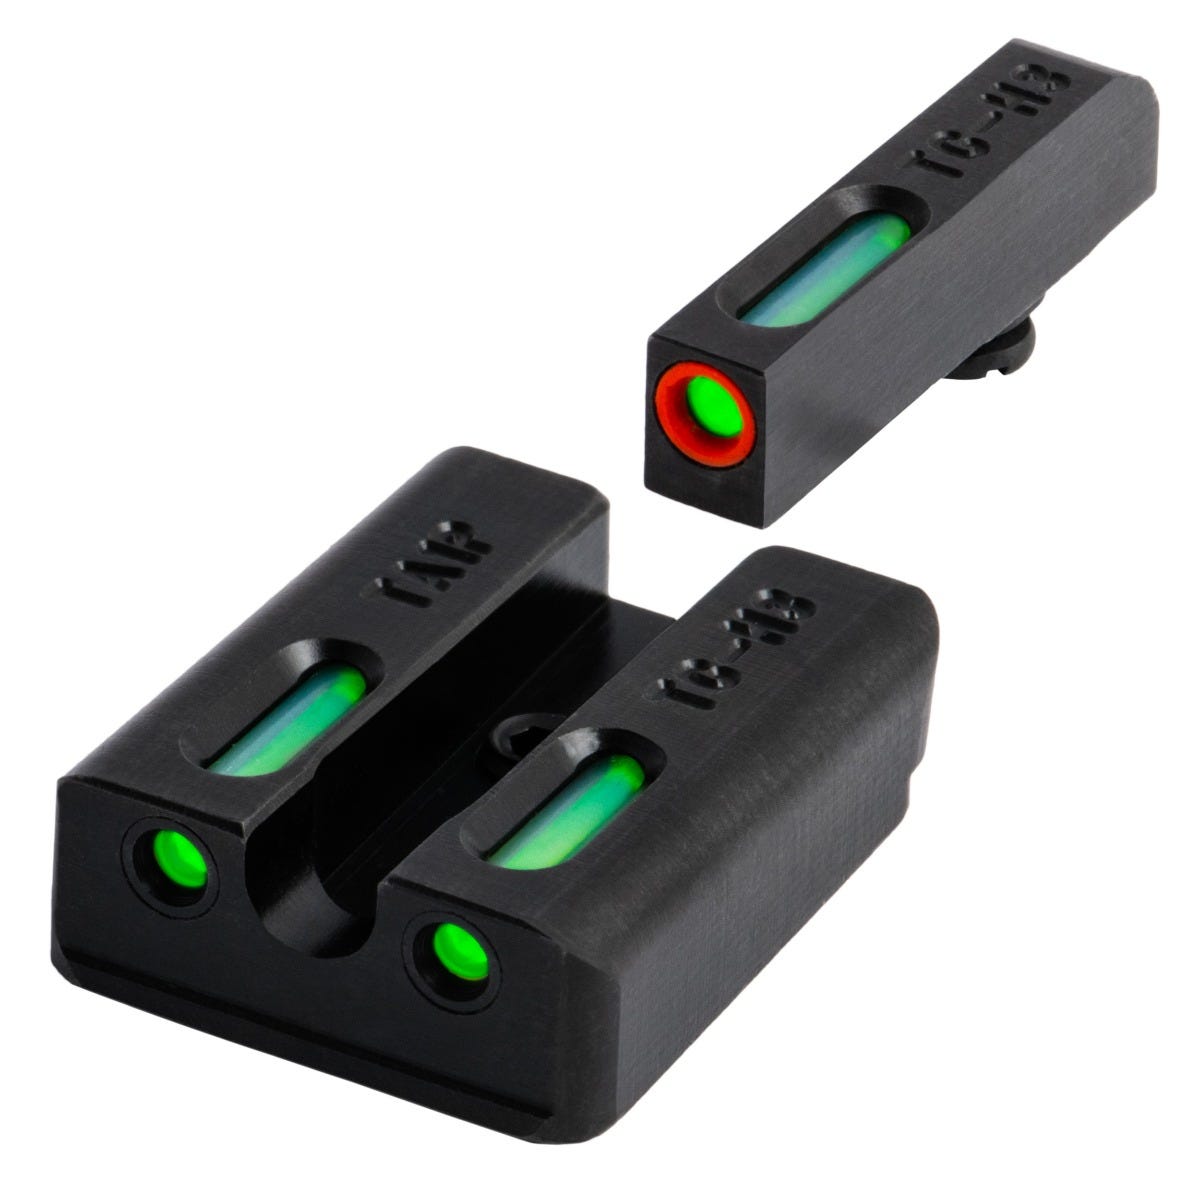
TFX PRO (TG13TA2PC)
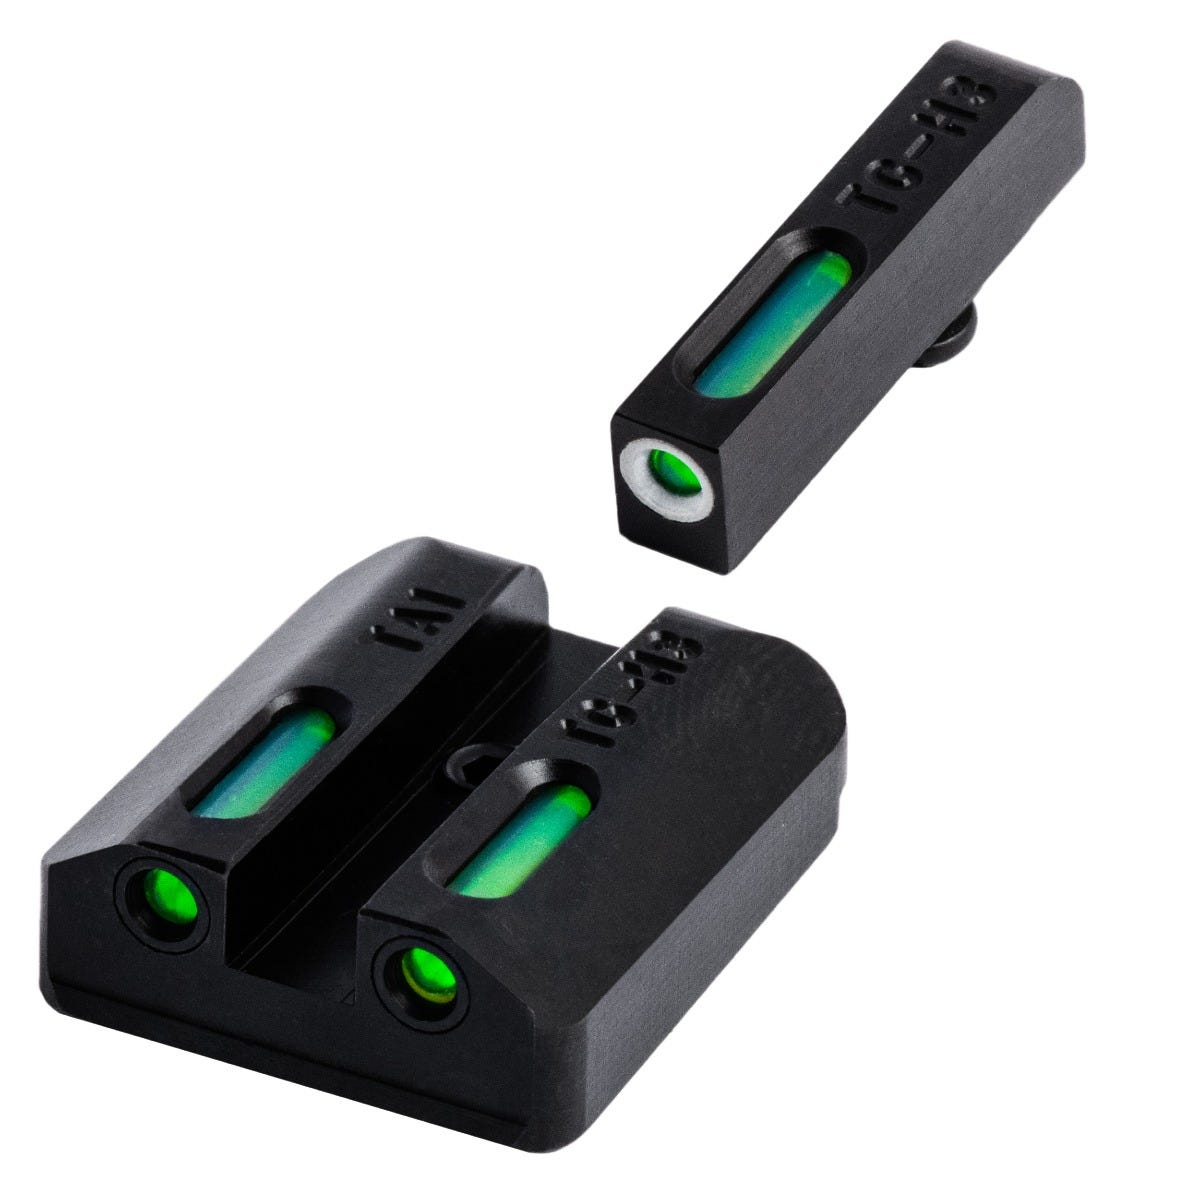
TFX (TG13TA2A)
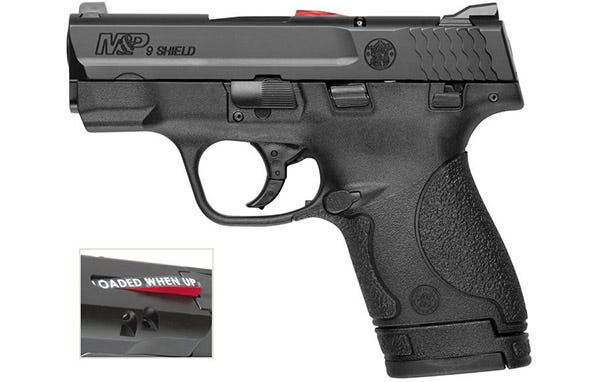
Sights for S&W® M&P Shield California Compliant Models
Our Smith and Wessson M&P series sights are designed as a direct replacements for factory M&P sights. (Full size, compact, Shield, etc.)
The California compliant M&P shield models feature a loaded chamber indicator (LCI). This LCI partially obscures the sight picture of the factory sights. TRUGLO sights are based on the height of the factory sights (to fit standard holsters, etc.) and experience the same issue.
There is not currently a California specific sight model to circumvent the issue of the LCI partially obscuring the front sight.